Custom Responders
Create personalized transactional communications with custom HTML, merge tags, and targeted messaging for enhanced customer engagement.
While Stock Responders are already created for you, Custom Responders are a blank slate. Custom Responders will be blank HTML and allow you
How to create a Custom Responder
-
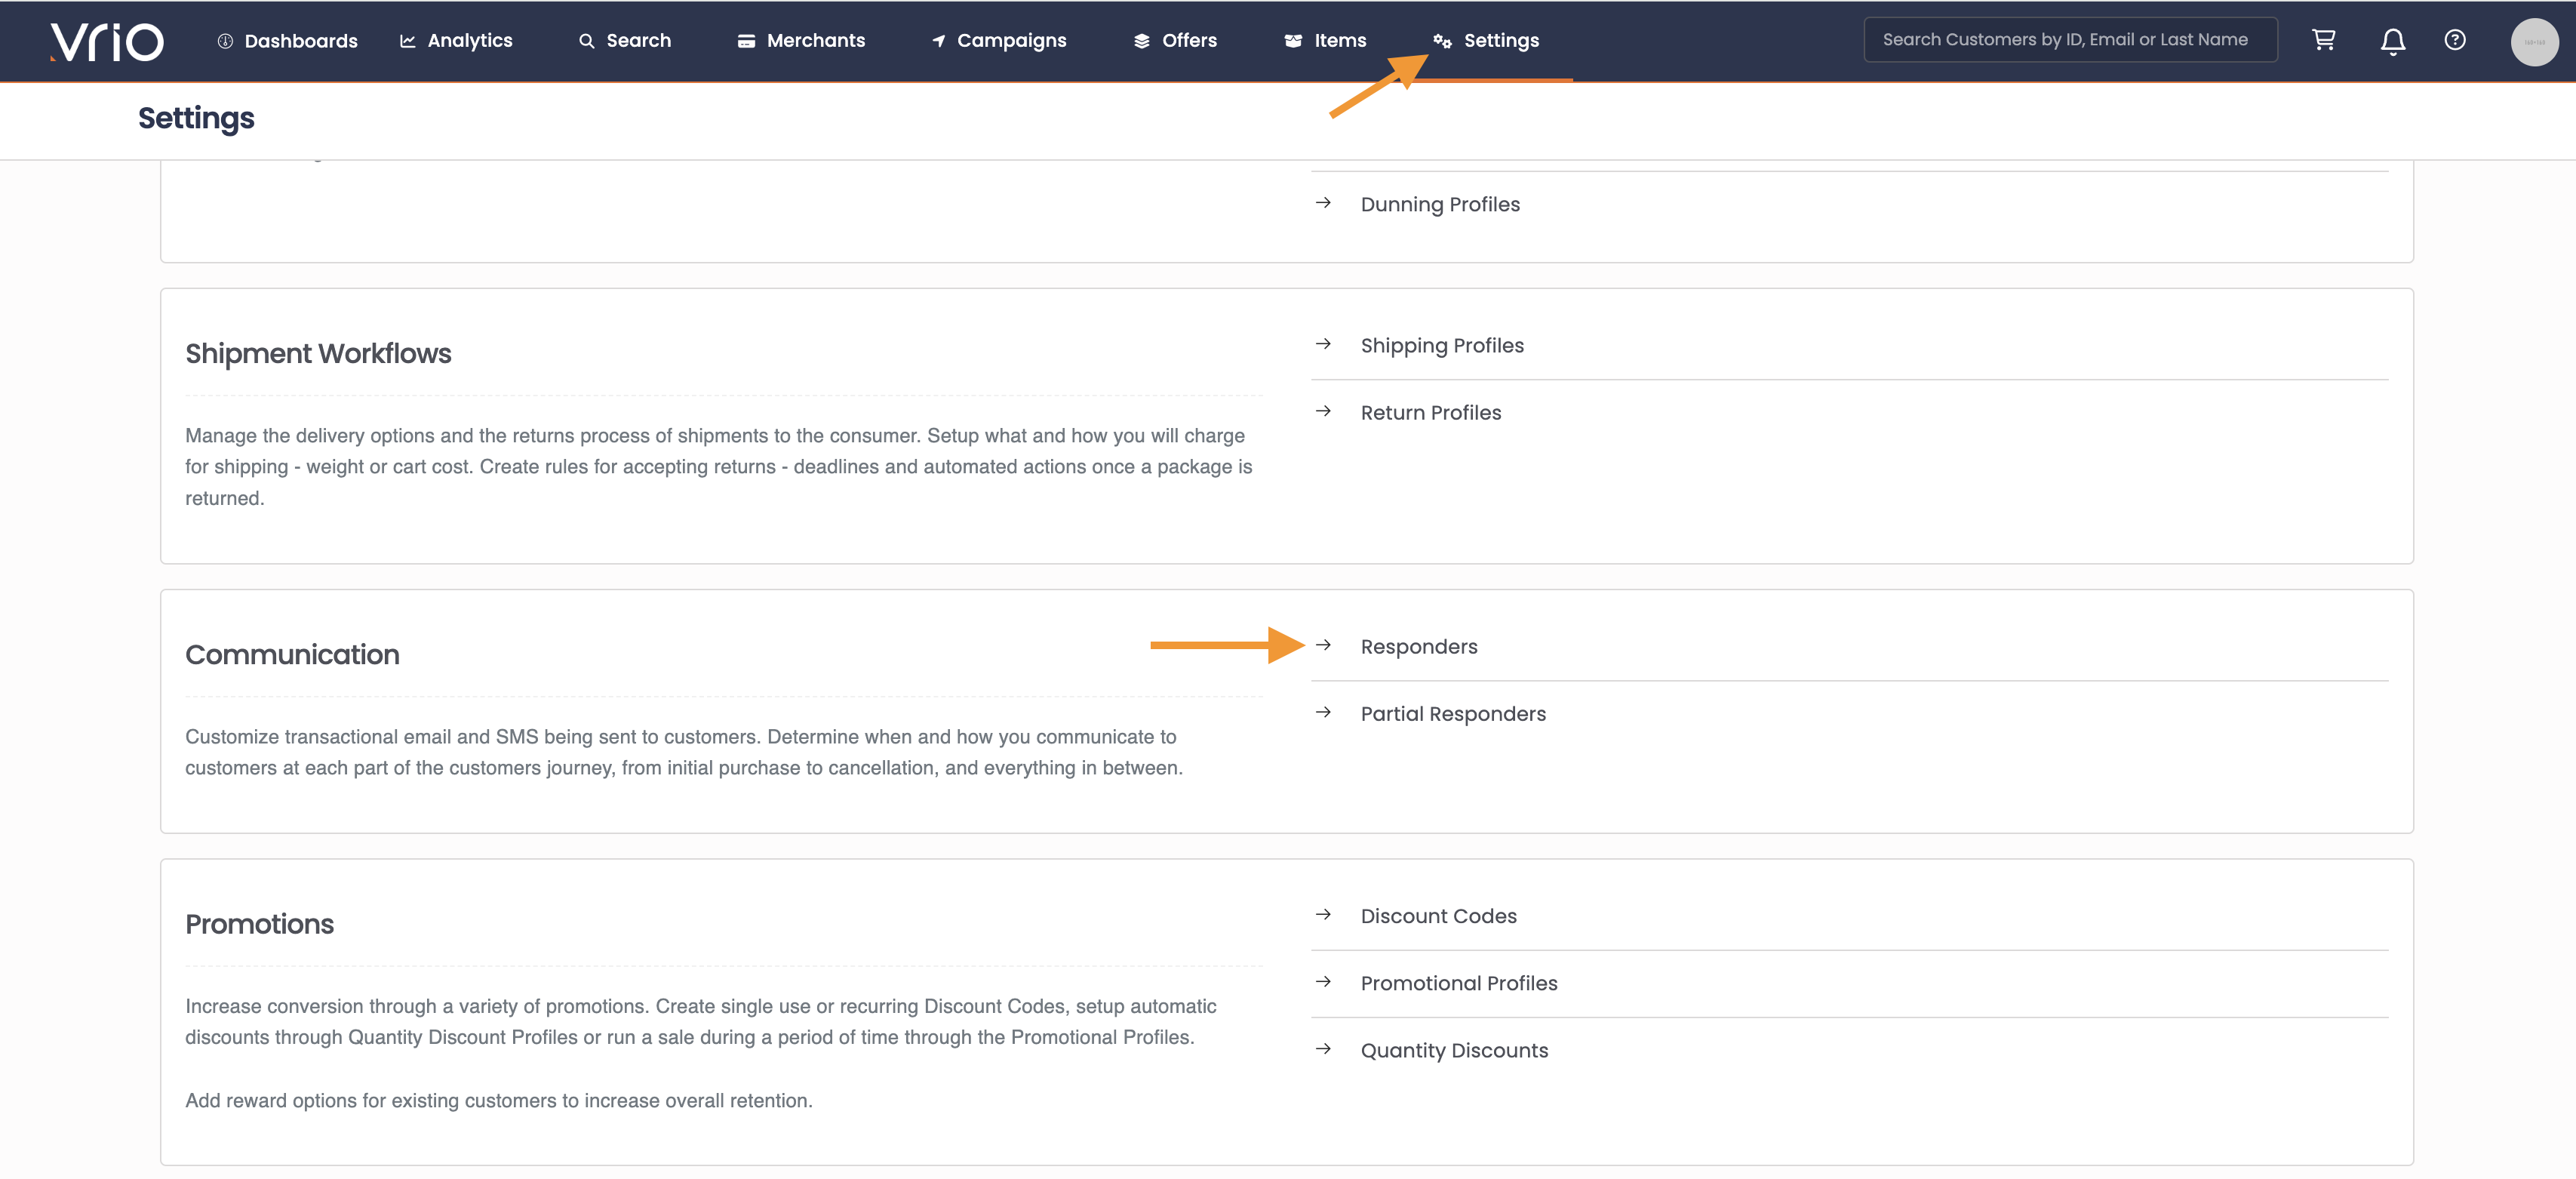
Navigate to Settings
-
Scroll down to Communication and Select Responder
-
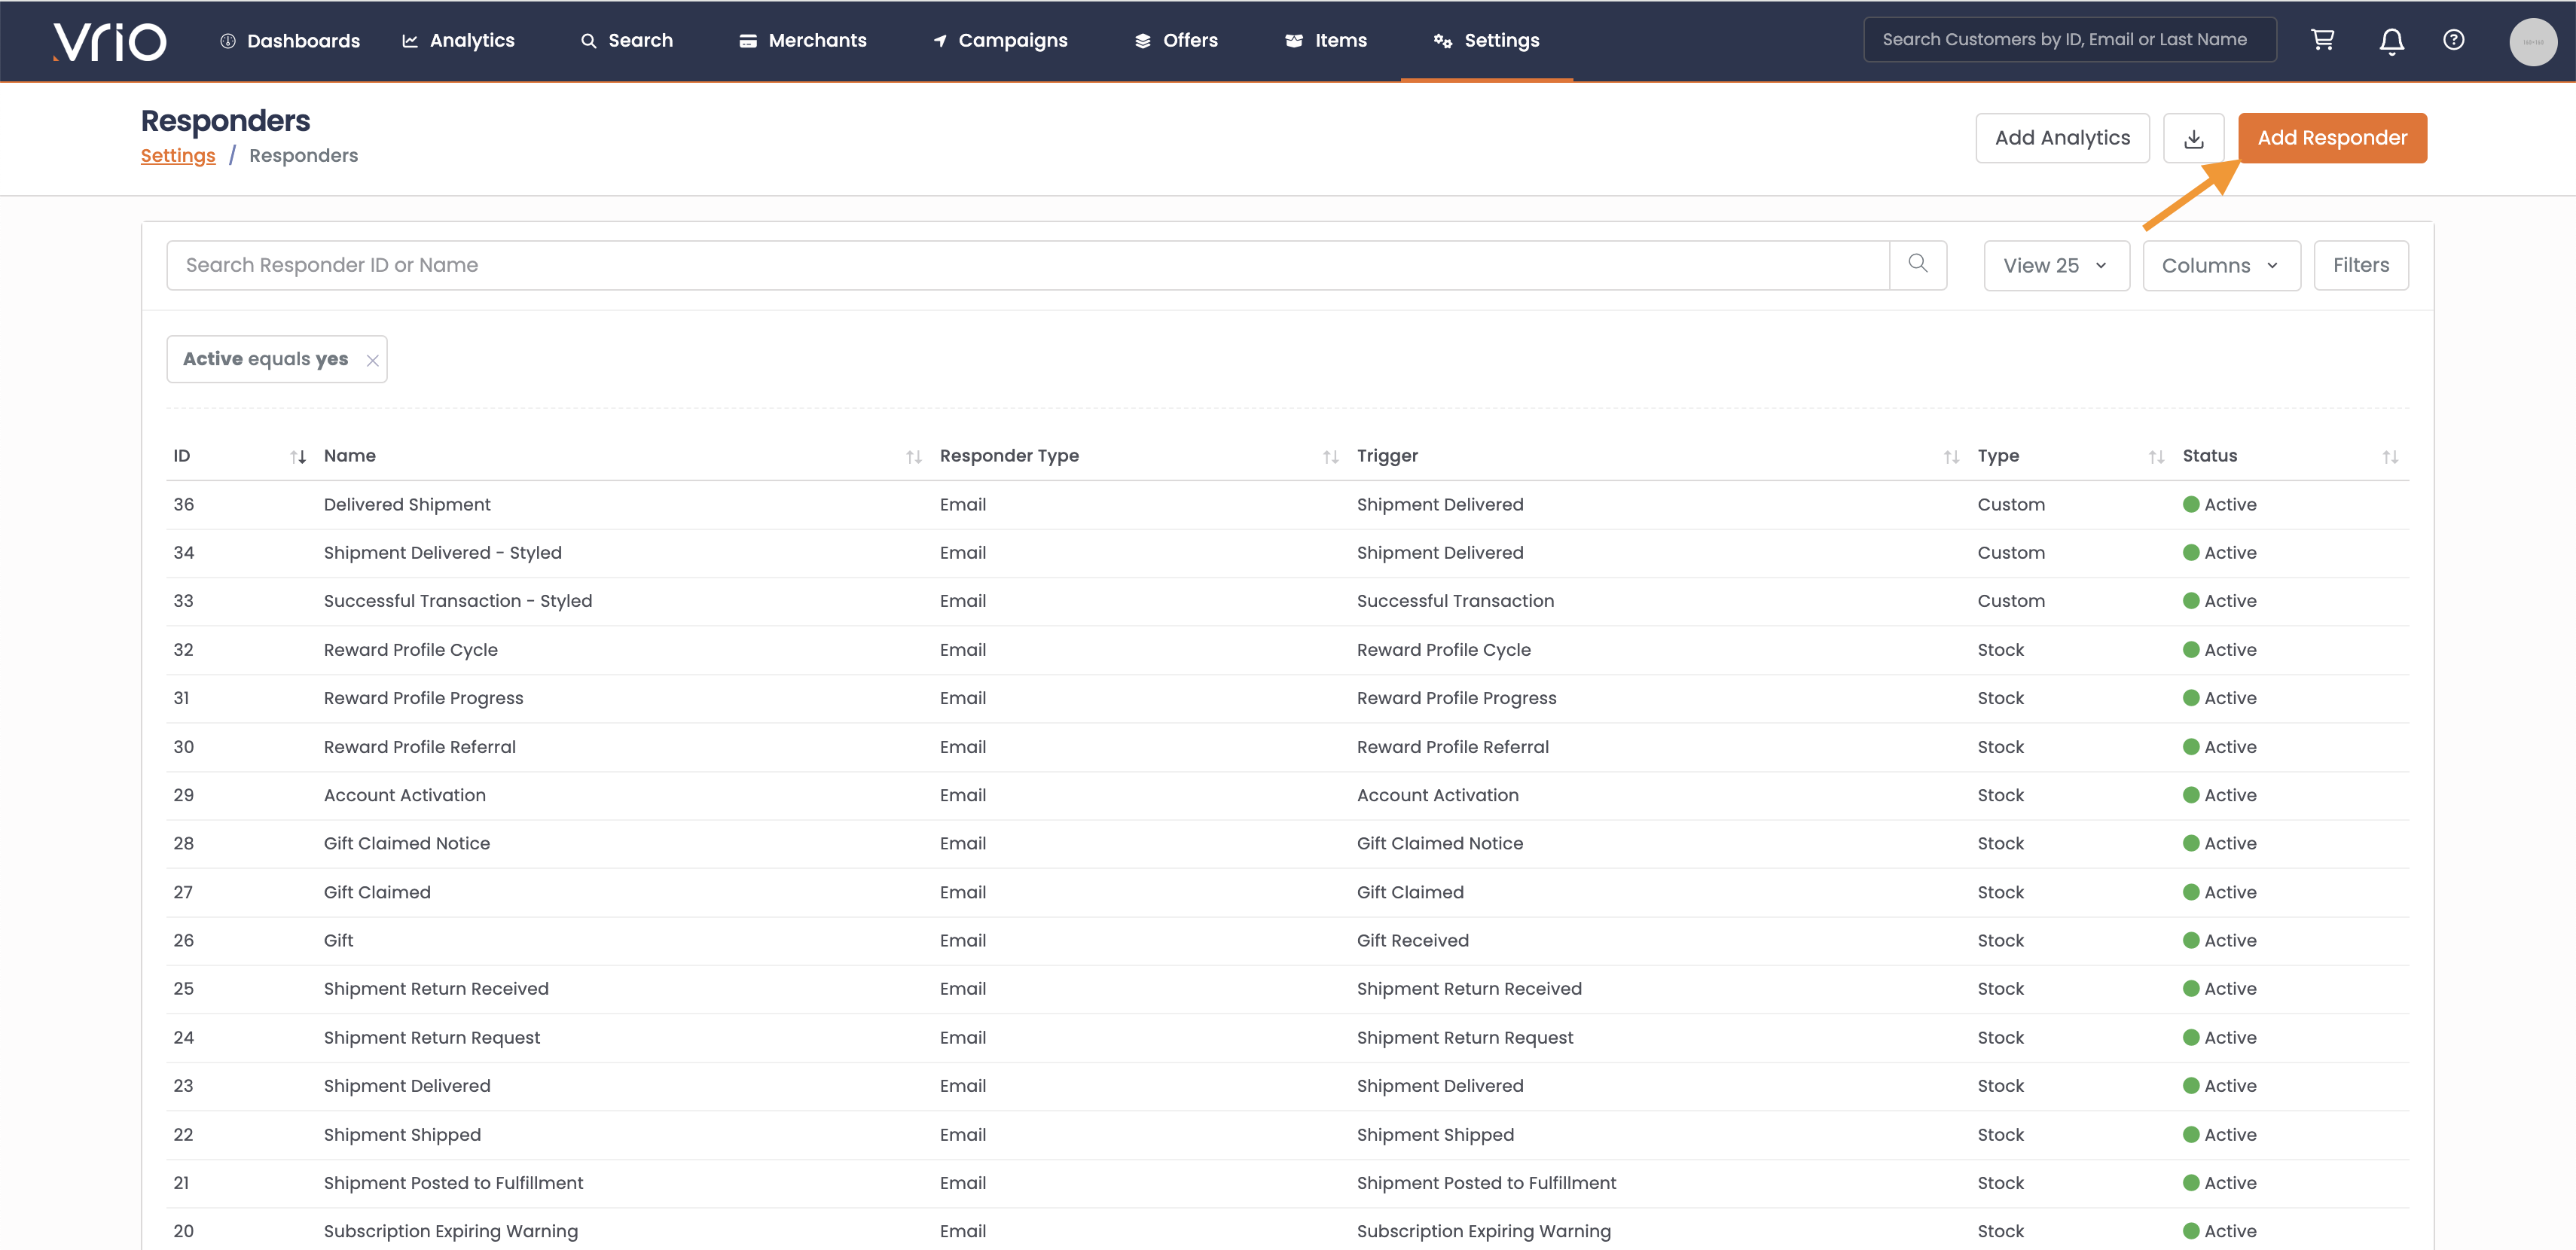
Select Add Responder
-
Follow the prompts (see below)
Responder Setup | Description | Visible to the Customer |
|---|---|---|
Name | Internal name of the Responder. Used in the drop down to set which responder to utilize. | N |
Responder Type | Email* SMS - a text will be sent for this responder. Text messages are limited to 1600 characters, the body will be truncated if longer. | N |
| Email Subject line shown in the inbox | Y |
Responder Trigger | The event that happens, or is scheduled to happen, in which will trigger the responder to be sent | N |
- Hit Submit
Now you are taken into the Responder Section - learn about the Responder navigation here.
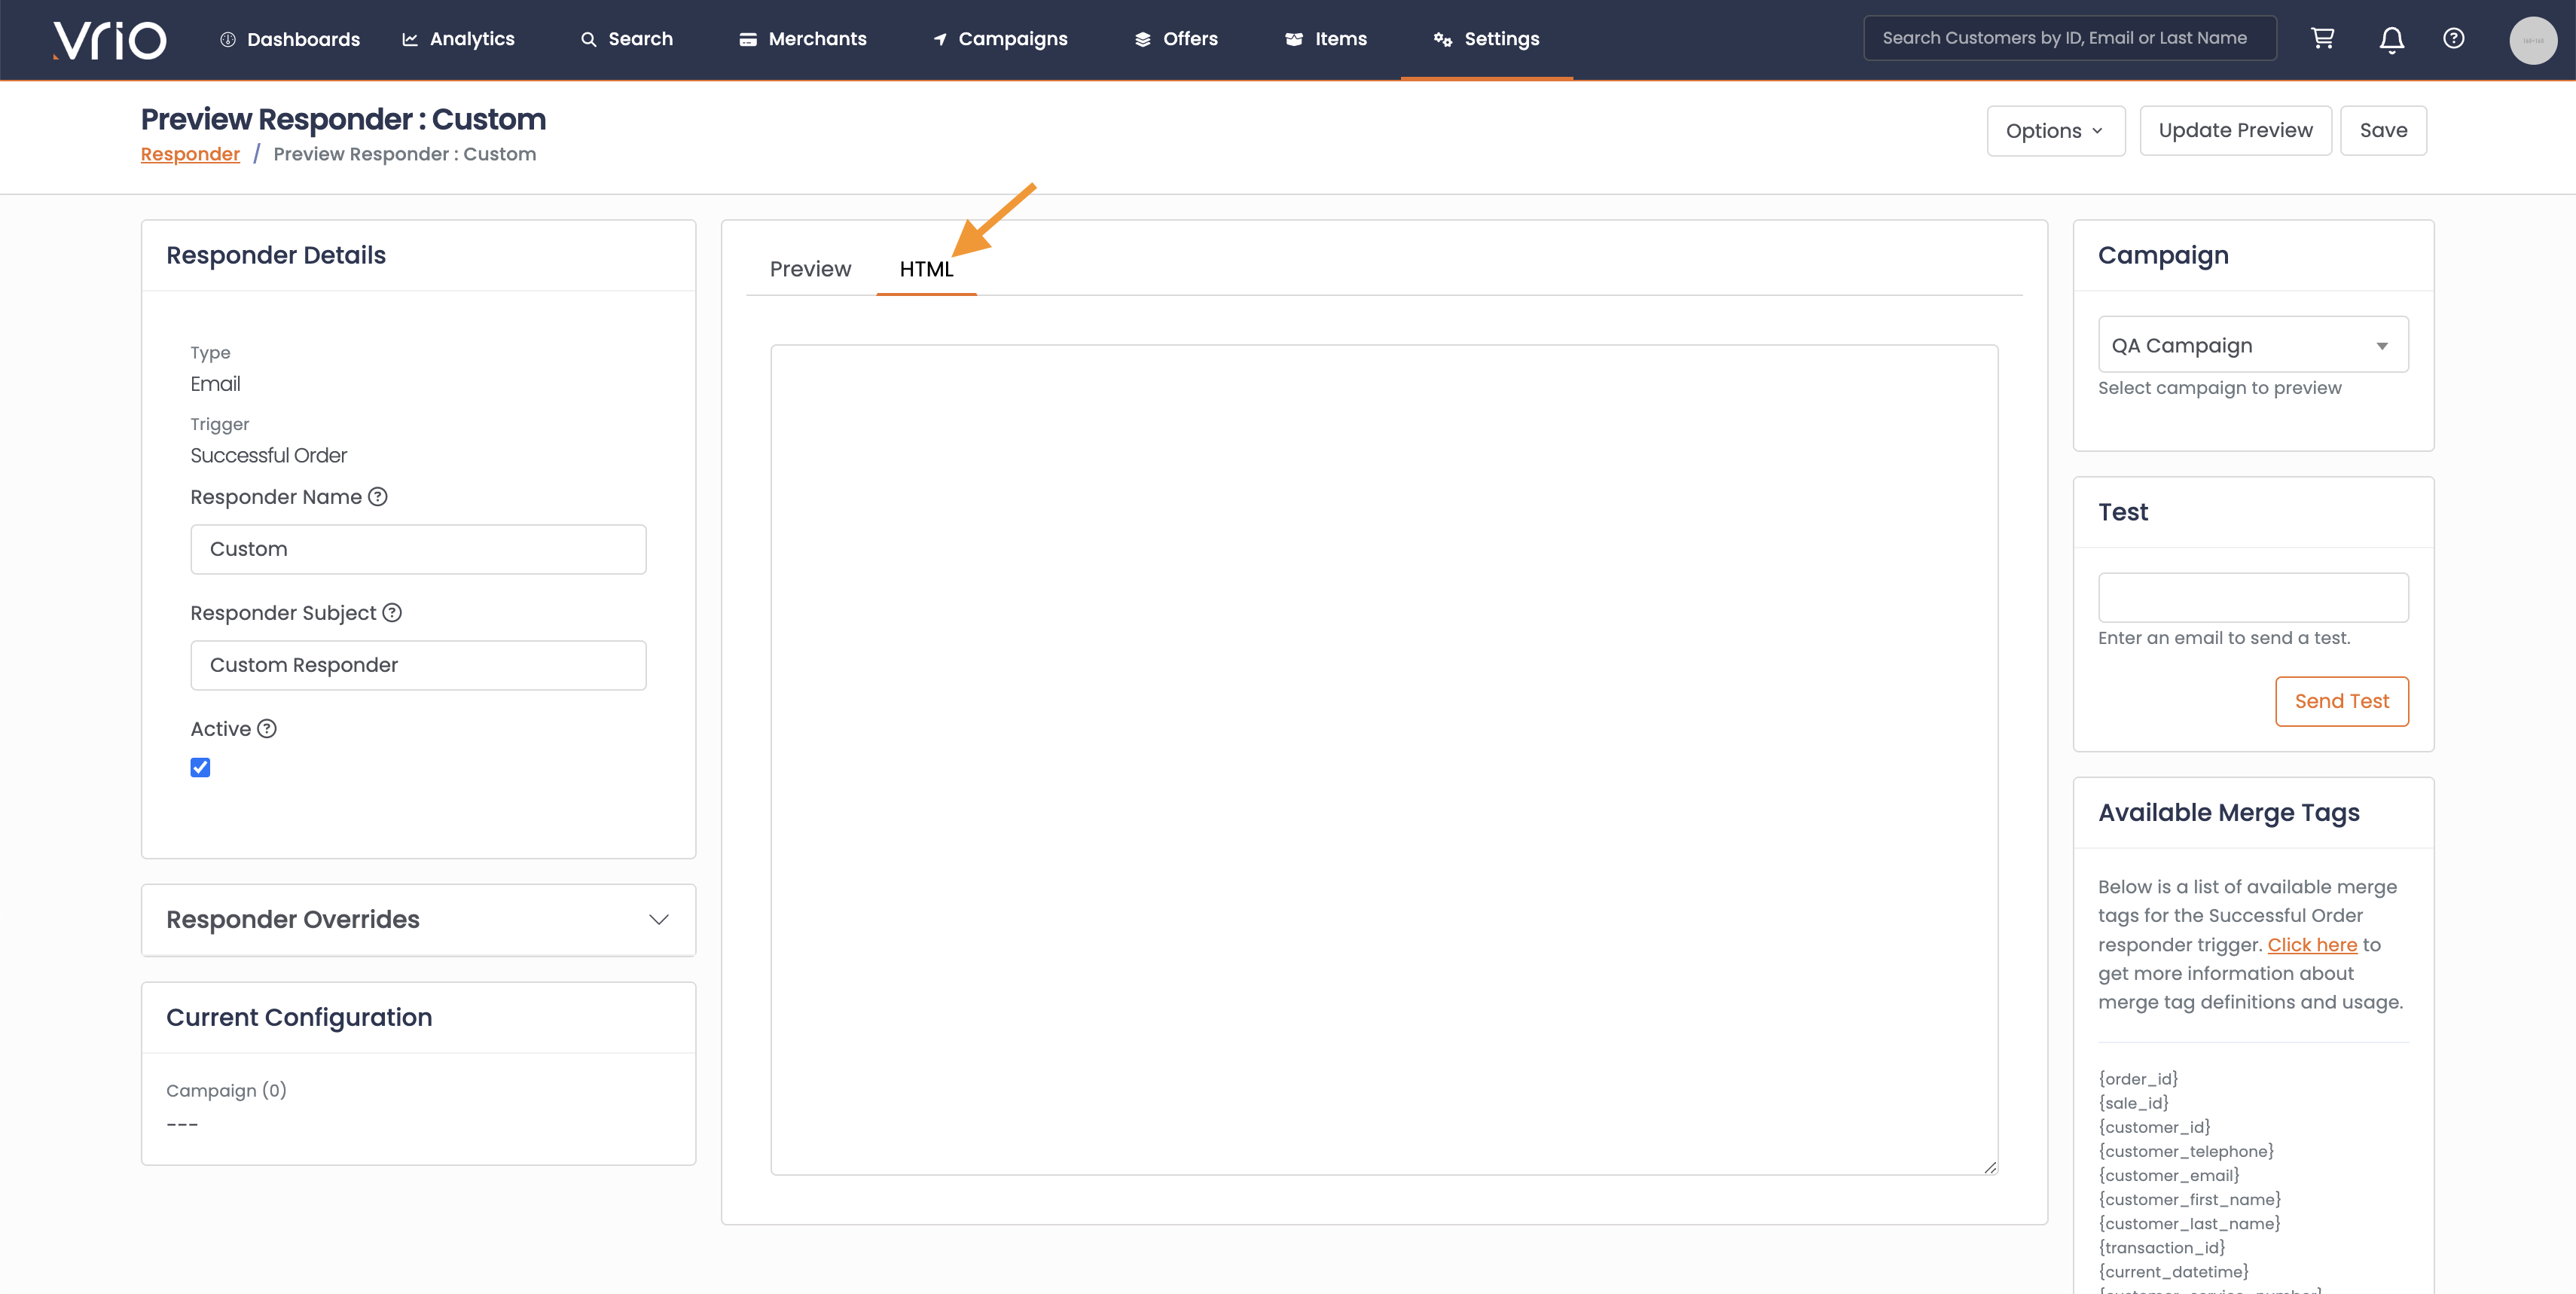
- Navigate to the HTML Tab and begin adding your HTML
- Hit Save
Duplicate Existing Responder
To edit Stock or simply duplicate copy that has already been created:
- Select the Responder
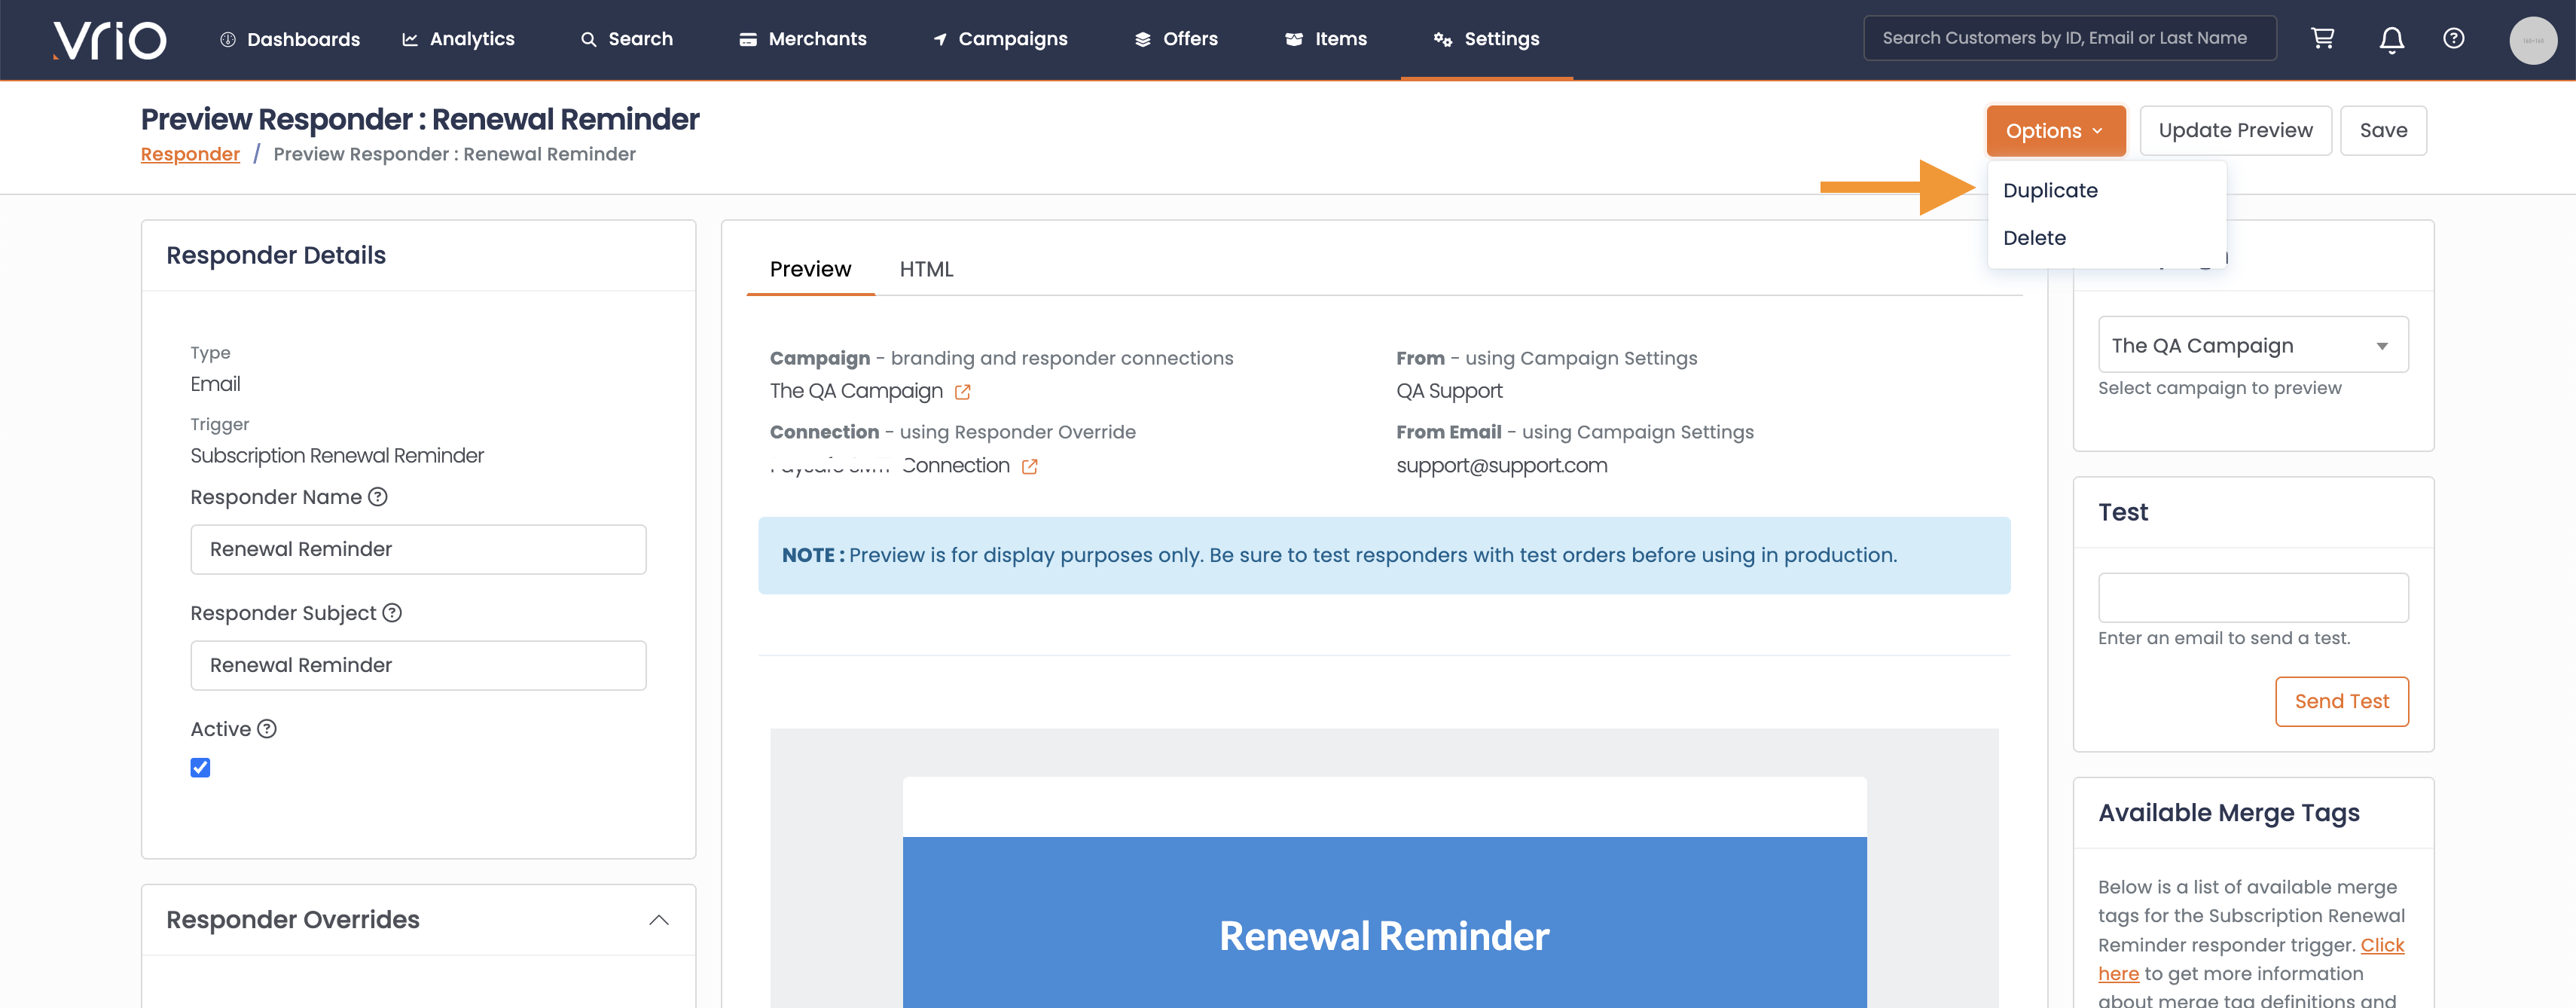
- Navigate to the top right and select Options
- Choose Duplicate
- Rename the responder
- Confirm the Subject Line
- Confirm the Responder Connection
- Confirm the Responder Trigger (once set, this cannot be updated)
Responder Content
Responders are written in HTML and merge tags are available to pull in customer details for a personalized message.
A list of available merge tags will be in the bottle right corner of the Responder Creation page.
Activating Responders
Once the Responders are created, they will need to be applied to the setup.
Responders are setup within:
- Campaign
- Offer
- Offer Cycle
Learn more about activating the Responders here.