Creating Scheduled Reports
Automate report delivery with scheduled reports sent via email or SMS. Configure daily, weekly, and monthly reports with custom timeframes, metrics, and formatting options for consistent data monitoring.
Key Takeaways
- Schedules are setup on individual reports
- The First Dimension is what will be used in the scheduled report
- Scheduled reports can run Daily, Weekly, Monthly
- Table reports cannot be delivered via SMS
What is a Scheduled Report?
A Schedule will deliver a report via email or SMS on a regular schedule and delivered based on the time setup.
Scheduled reports can be delivered in the form of
Creating a Scheduled Report
Alerts can be created from any Report / Metric / Dimension combination.
To create a schedule
- Navigate to the Analytics and choose the report of choice
- Add the Dimension - This is what will be used for the alert criteria. Alerts go off of the First Dimension only.
- Navigate to More Options
- Select Create Schedule
- Follow the prompts (outlined below) and hit submit.
When adding a new schedule, there are configurable options of how you want to see the data come through
Schedule Name | Give your schedule a name. This will reflect in the SMS or email identifying the schedule being sent. | |
Default Timeframe | Define the date range of the report that you wish to have sent to you. | Build a custom timeframe, learn how here. |
Metrics | Define the metrics you want to see on your report. | |
Sort By | Define the filter you want the report sorted by | |
Sort Order | Ascending or Descending | |
Users | Choose the user(s) | |
Methods | Delivery method: Email or SMS | |
Ruleset | Limit the scheduled report to a specific ruleset. Rulesets use defined field operator relationship to determine what is included in a cohort. | Build a custom ruleset, learn how here. |
Graph Type | Select the type of graph you want to see on the scheduled report | Line |
Frequency | Determine how often you wish to have this report delivered. | Monthly, weekly and daily are the current options. If you want hourly, simply setup a daily report to send every hour (see below) |
Hour | Select the time of day you want to receive the report | |
Attach CSV | When checked, a csv file will be attached to the email. This is available for email only. |
Editing a Schedule
To edit and existing schedule, including deactivating it:
-
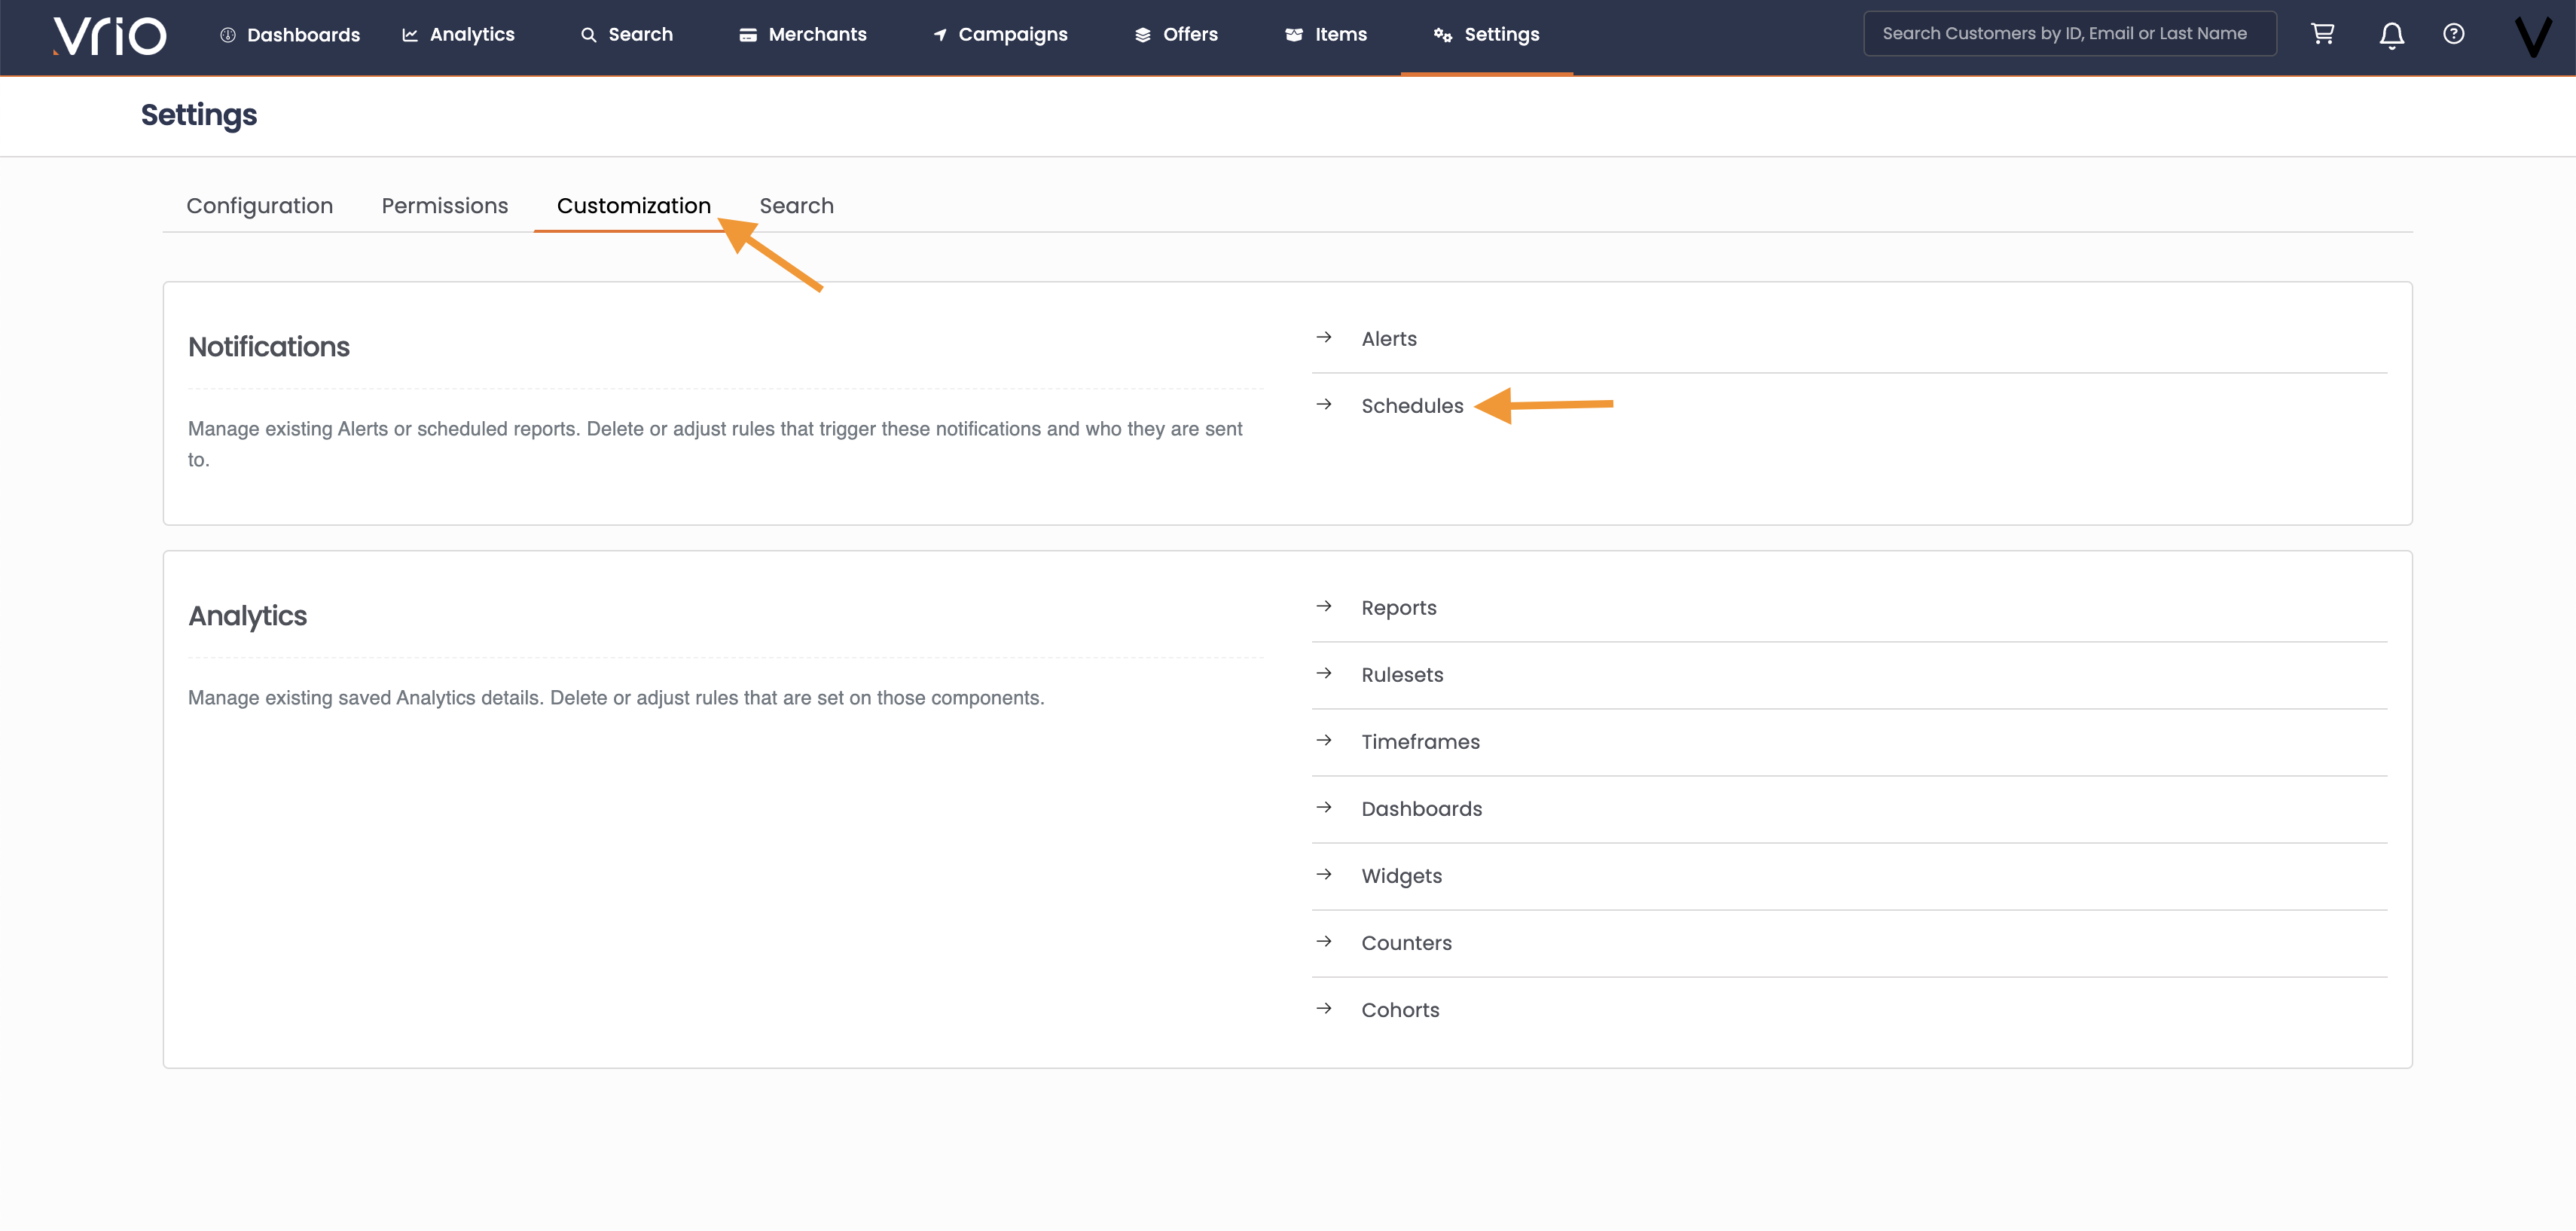
Navigate to Settings
-
Select the Customization tab
-
Select the schedule you wish to edit
-
Make your necessary changes and hit Submit.